Overview
Odoo 17 & 18 Module – Business Card Scanning, AI-Powered Contact Extraction, and Contact Creation
Bizscan is an Odoo 17 module designed to streamline contact capture by digitizing business cards. It uses OpenAI-powered text recognition and natural language processing to:
- Directly scan business cards using your device’s camera (primary method).
- Upload business card images from your device (secondary method).
- Automatically extract and standardize contact details with high accuracy.
- Instantly create contacts in Odoo by scanning business cards with AI-powered Bizscan.
- Link contacts to marketing campaigns and assign them as members automatically.
Installation Guide
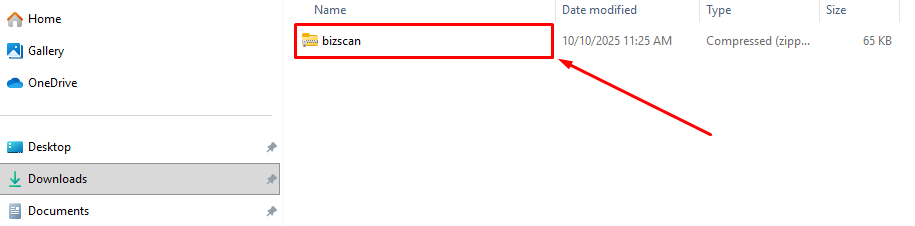
1️⃣ Download the Module
Download the Bizscan module file (zip file)
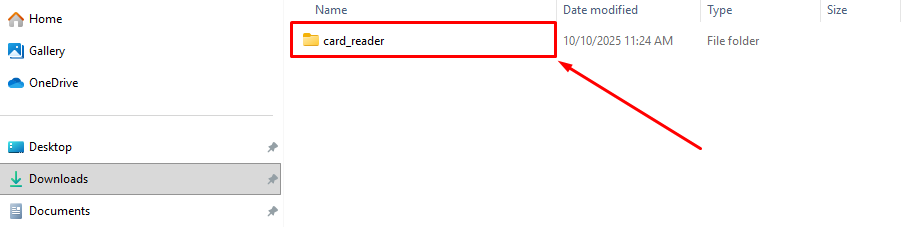
2️⃣ Upload to Your Odoo Server
Ask your system administrator (or do it yourself if you manage the server) to upload and extract the Bizscan folder into the Odoo addons folder.
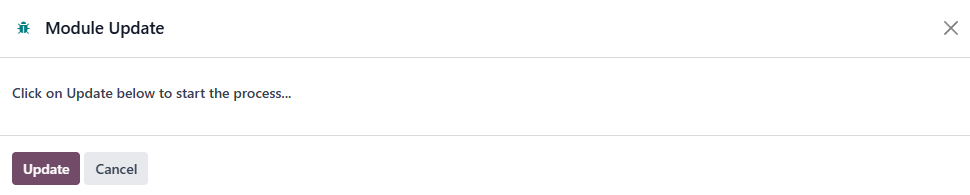
3️⃣ Update the Apps List
- Log in to your Odoo account with admin access.
- Go to the Apps menu.
- Click Update Apps List (Developer Mode).
- Confirm.
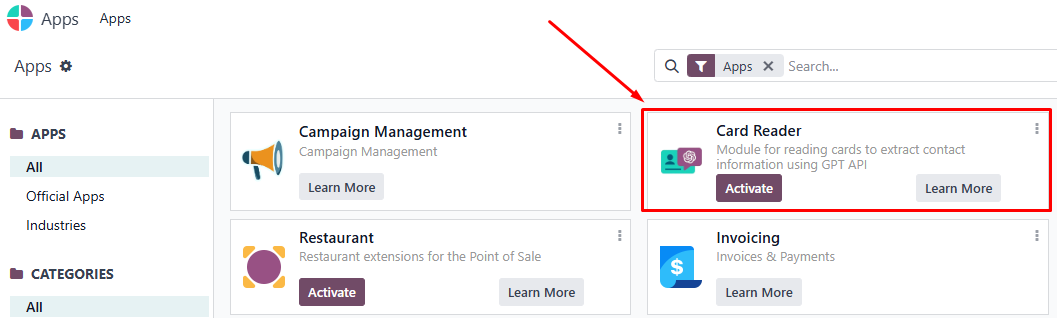
4️⃣ Activate Bizscan
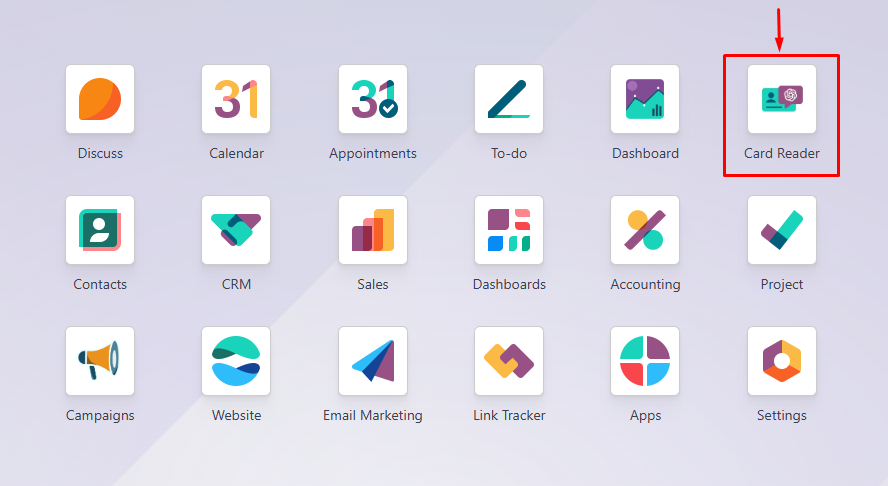
- In the Apps screen, type Card Reader (Bizscan) in the search bar.
- When the Bizscan app appears, click Activate.
- Wait for the installation to complete.
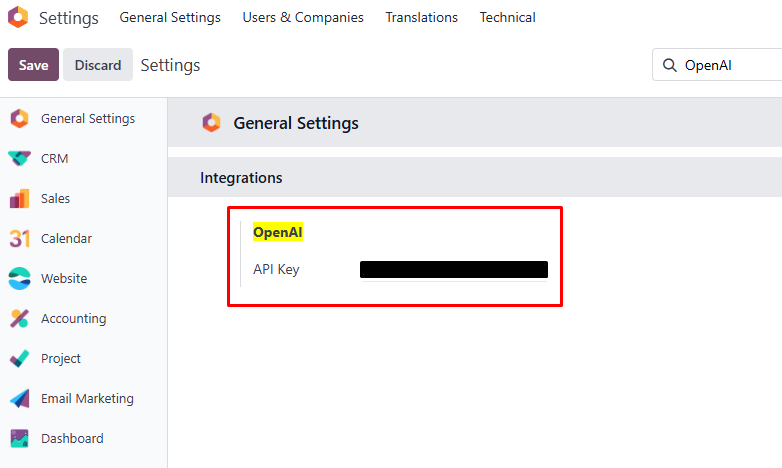
5️⃣ Connect to OpenAI
Bizscan requires OpenAI to extract business card information automatically and you must configure your OpenAI API Key before using the module.
- Go to Settings → General Settings → search OpenAI.
- Enter your OpenAI API Key.
- Click Save Settings.
With the Bizscan Module, your teams gain faster contact capture, cleaner data, and smarter campaign integration—all in one seamless process.
Accessing Bizscan & Permissions
- Log in to Odoo 17.
- Go to the Card Reader module in the main menu.
To use Bizscan for scanning business cards and creating contacts, a user must have the correct access rights in Odoo.
- Required Access Group: Manage Card Reader

- Users without this access group will not see the Card Reader menu and cannot perform scanning, uploading, or contact creation.
- Access rights are managed by an Odoo Administrator in Settings → Users & Companies → Users.
💡 If you don’t see the menu, contact your administrator to ensure access rights.
Capturing Business Card Information
A. Step 1: Scan or upload a Business Card
- Go to the Card Reader menu.
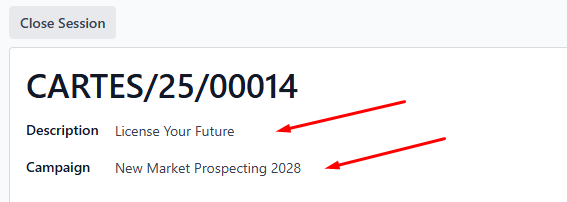
- Click the New button to create a new session.
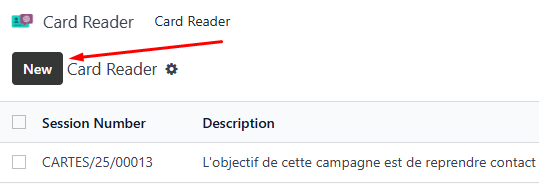
- Enter the Description of session and, if applicable, select a Campaign to automatically add new contacts as members.
- In the Card Image field, click Take a Picture button to scan the business card directly or upload a business card image from your device
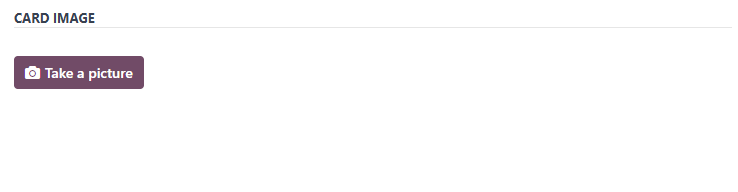
- Scan the business card using your camera, or choose an existing image from your computer or mobile device.
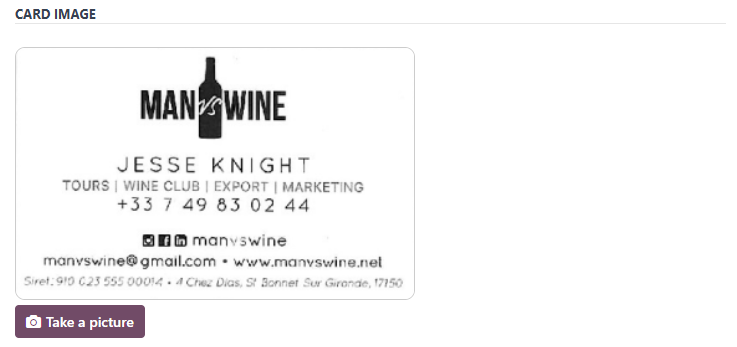
- The system will automatically extract contact details using OpenAI-powered technology.

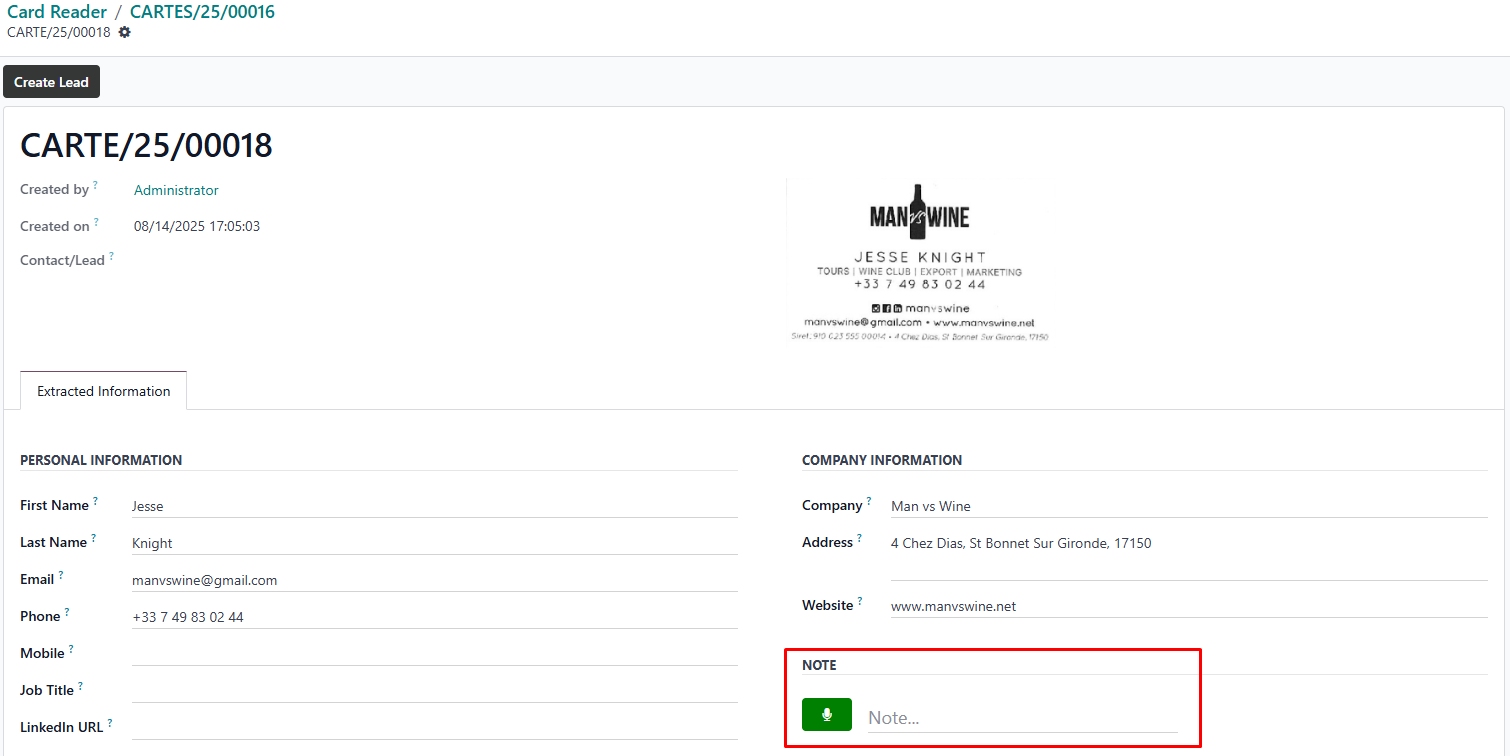
B. Step 2: Review Extracted Information
- Review the extracted data to ensure it is correct.
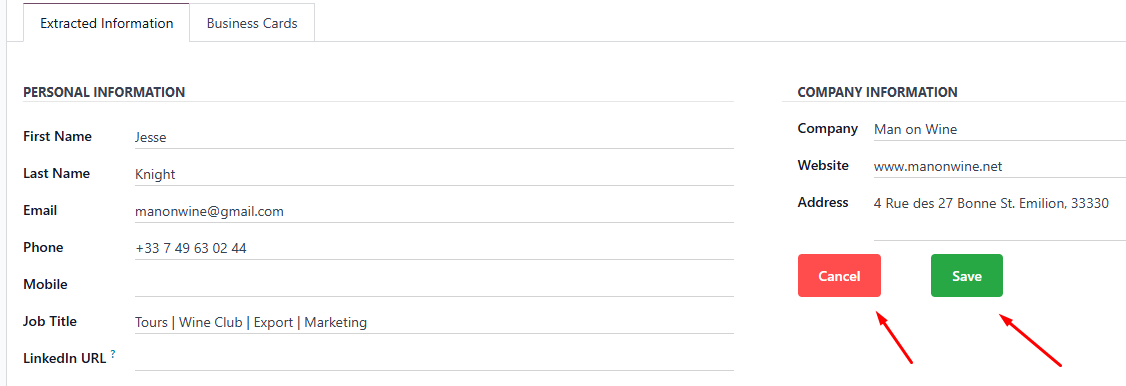
- The following fields will be filled in automatically:
- First Name
- Last Name
- Phone
- Mobile
- Job Title
- Linkedin URL
- Company
- Website
- Address
✏️ You can edit or correct any field before saving.
If the information is accurate, click Save.
If the information is incorrect or incomplete, click Cancel and repeat the scan or upload.
C. Step 3: Create a Contact
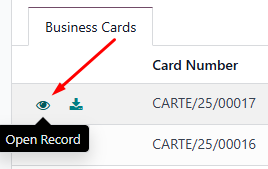
- Click Business Cards tab to view all records created by scanning or uploading business cards.

- Locate the record you want to convert into a contact.
- Click the Eye icon to open the record details.
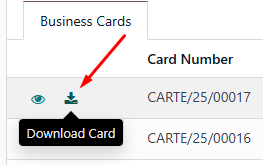
- (Optional) Click the Download button in the record view to save a copy of the business card image to your device.
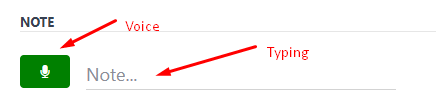
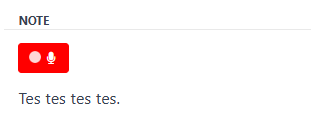
- Review the contact information to ensure it is accurate. You can also add additional notes by voice or typing to capture any extra details or context that may be useful later.
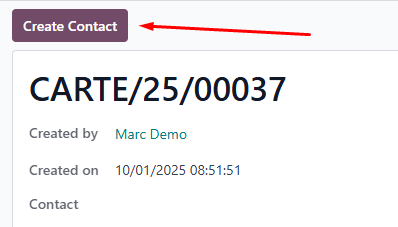
- Click the Create Contact button inside the record view.
- The system will search existing contacts to avoid creating a duplicate record.
- If a matching contact is found, you can select it to use the existing data.
- If no match is found, a new contact will be created.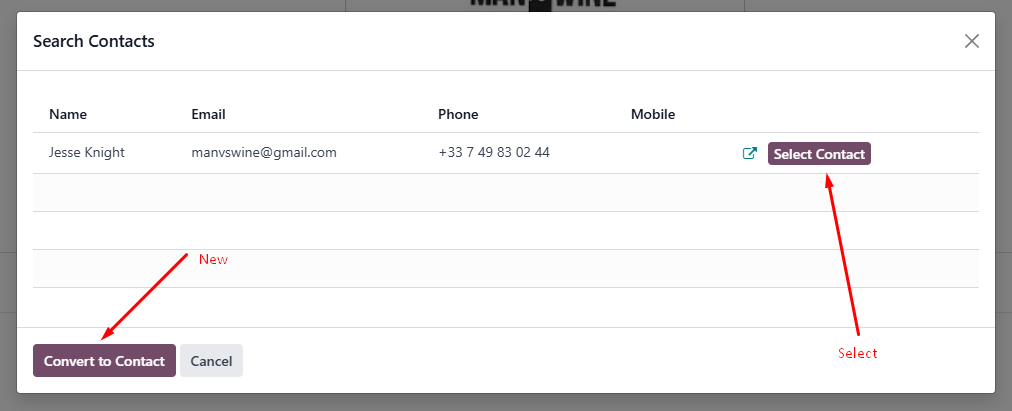
- The system will automatically create a new contact using the stored contact details.
- You can check the newly created contact directly by clicking the value in the Created Contact field. This will open the contact’s record for review.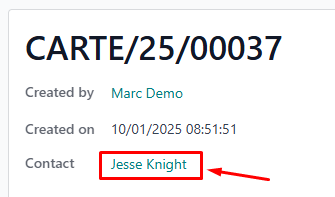
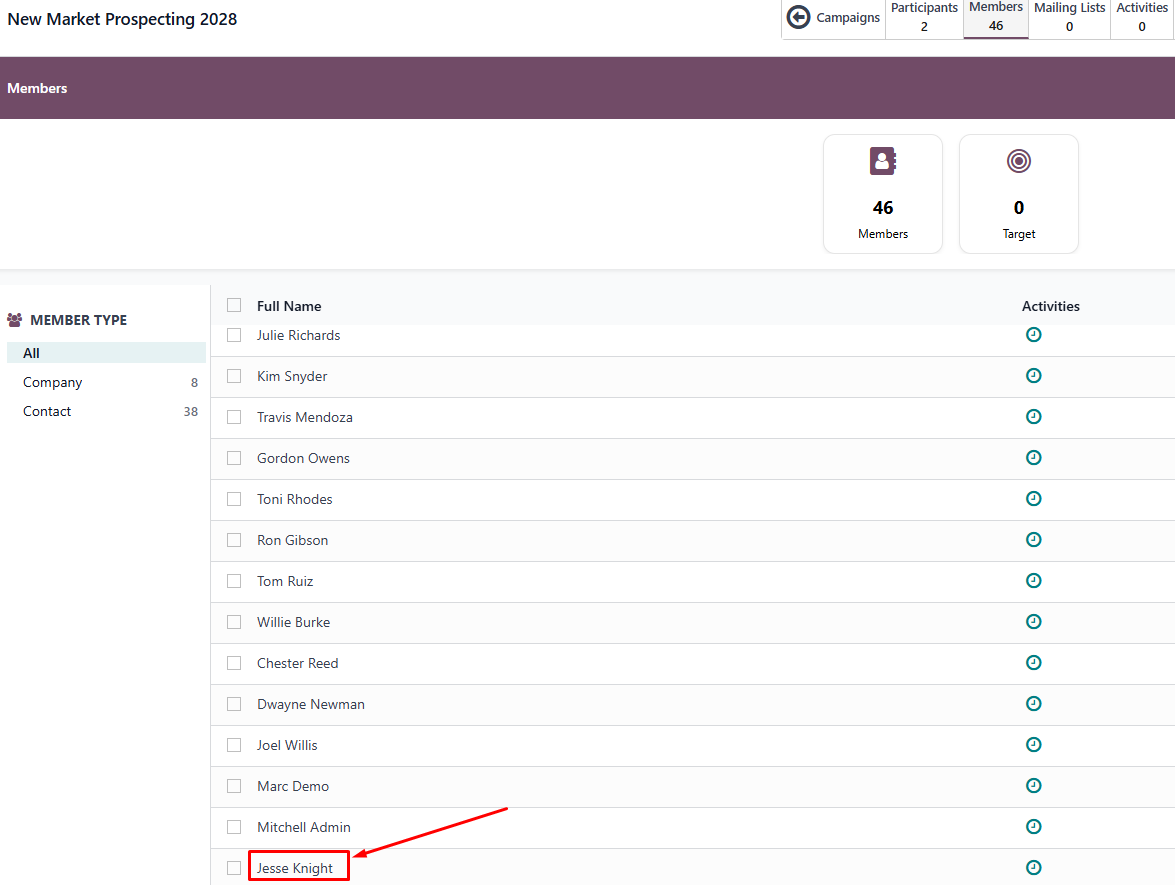
- In the contact view, you can verify details, make updates, and check whether it has been added as a member of the selected campaign (if one was chosen during the session) by clicking the Campaigns tab, or by checking directly from the Campaigns menu.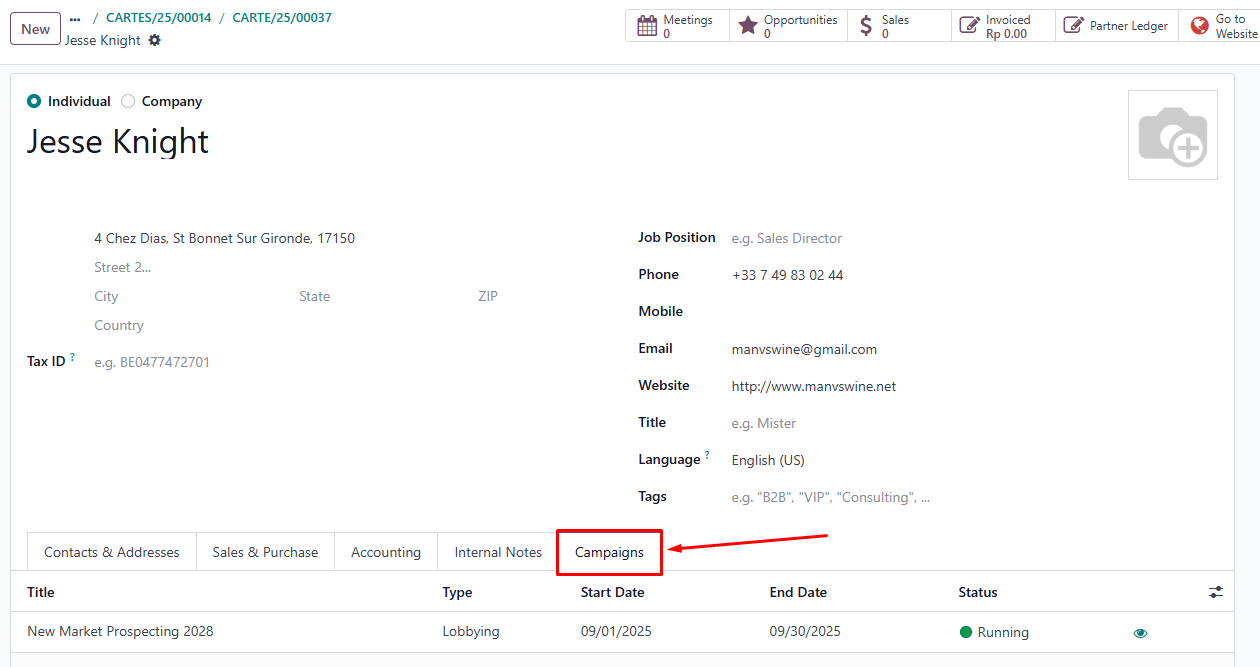
- If you added any additional notes during the review of extracted data, they will appear in the Chatter section of the contact record.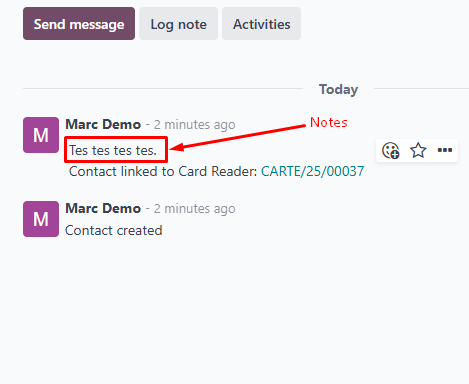
✏️ Once a record has been converted into a contact, it cannot be edited or deleted from the Business Cards tab
Automatic Contact Creation
- Once the data is extracted, you can create a contact instantly in Odoo by clicking the Create Contact button.
- Before converting to a contact, you can open the extracted record to review and edit the details, ensuring all information is correct.
- If a campaign was selected in the scanning session, the newly created contact will automatically be added as a member of that campaign.
Tips and Best Practices
- Use the direct scan method whenever possible for faster results.
- Keep business cards flat, clean, and readable.
- Verify extracted data before saving.
Quick Workflow
Create Session → Link Campaign (Optional) → Scan (or Upload) Business Cards → AI Data Extraction → Review → Convert to Contact
- Create Session – Start by creating a new scanning session in the Card Reader menu.
- Link Campaign (Optional) – Assign the session to a campaign if you want new contacts to be added as campaign members automatically.
- Scan or Upload – Scan a business card directly using your device’s camera, or upload an existing card image.
- AI Data Extraction – Bizscan uses OpenAI technology to instantly extract contact details from the card.
- Review – Check the extracted information for accuracy and edit if necessary.
- Convert to Contact – Open the record and click Create Contact. The system will check for duplicates before creating a new contact.
Frequently Asked Questions
Q: Can I scan multiple cards at once?
A: Not yet — one card at a time is supported for best accuracy.
Q: Can I change the campaign after creating the contact?
A: Yes, you can edit the contact and update the campaign manually.
Q: What if the AI misses some information?
A: You can edit any field before creating the contact.