Overview
Odoo 17 & 18 Module – Email Management · CC/BCC Support · Enhanced Communication
The Email Module for Odoo enhances the native email system, making communication more efficient, organized, and professional. It is designed to bridge the gaps in Odoo’s standard email features, providing tools that help you manage emails directly within the system.
Key Features:
- Send emails with CC and BCC: Easily include multiple recipients while keeping privacy intact.
- Advanced Gmail Synchronization:
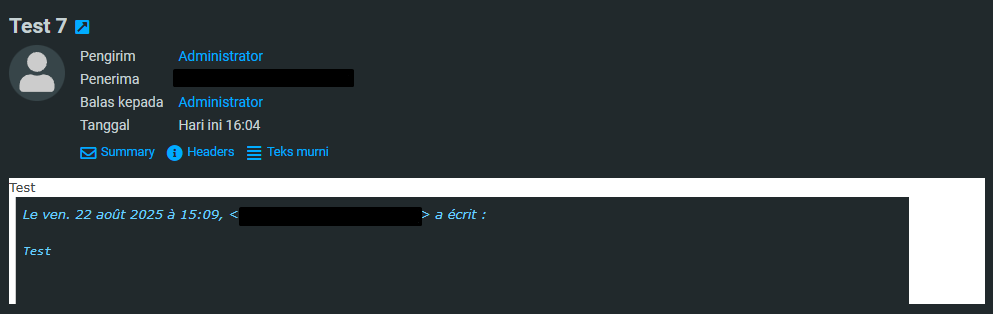
- All incoming and outgoing emails are kept in the same conversation thread.
- CC and BCC recipients are automatically tracked.
- If the email has CC or BCC, you can Reply All directly from the Odoo Chatter, keeping the conversation complete.
- First-time emails from potential customers are recorded without requiring a prior Odoo email.
- Automatic Lead Creation: When an email is received from an address not yet in Odoo, a new Lead is automatically created.
- Selective Email Fetching (Confidentially): You can choose to fetch only specific emails using Gmail labels, keeping your inbox clean and relevant.
- Email Aliases Integration: Emails sent to configured aliases are automatically linked to the correct record and will create Leads if the sender is not yet in your contacts.
Benefits:
- Keep all email conversations connected to Odoo records for better tracking.
- Reduce manual entry and prevent missing leads.
- Streamline communication within your team, while maintaining privacy and control.
- Ensure seamless interaction between Odoo and Gmail, improving workflow efficiency.
💡 This module is designed for anyone who needs to manage emails directly in Odoo, track communication history, and automatically capture new leads without leaving the system.
Installation Guide
1️⃣ Download the Module
Download the Email module file (zip file)
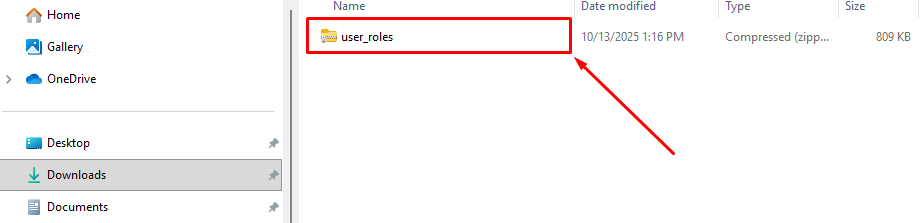
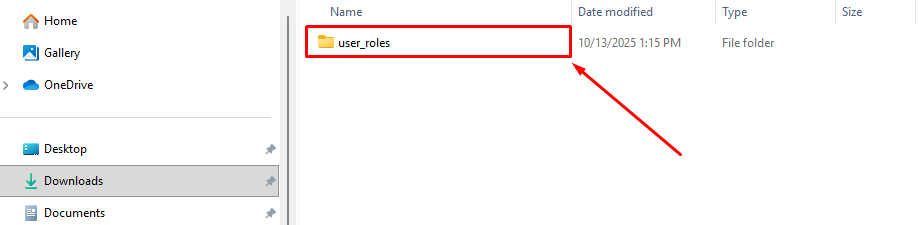
2️⃣ Upload to Your Odoo Server
Ask your system administrator (or do it yourself if you manage the server) to upload and extract the Email folder into the Odoo addons folder.
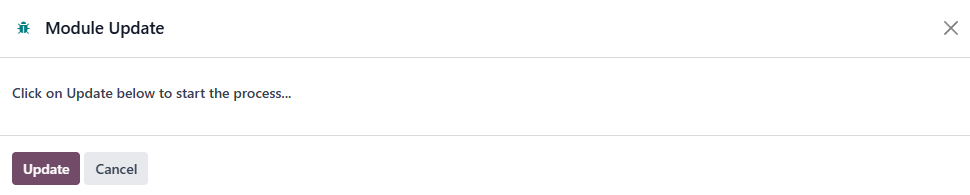
3️⃣ Update the Apps List
- Log in to your Odoo account with admin access.
- Go to the Apps menu.
- Click Update Apps List (Developer Mode).
- Confirm.
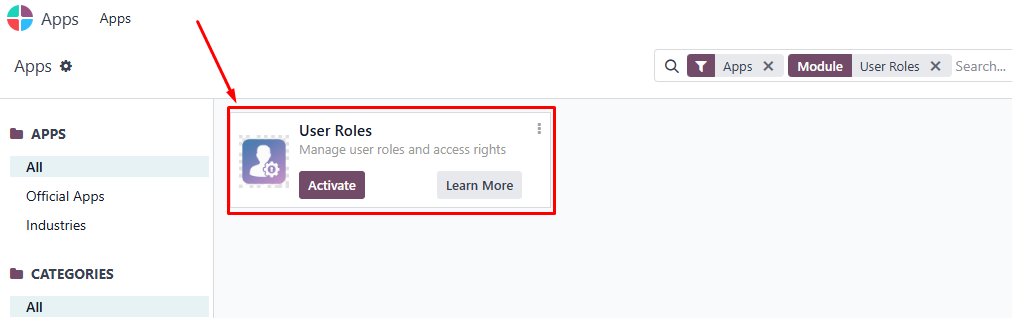
4️⃣ Activate Email
- In the Apps screen, type Email in the search bar.
- When the Email app appears, click Activate.
- Wait for the installation to complete.
With the Email module, you can send smarter emails with CC and BCC, sync seamlessly with Gmail, and keep every conversation organized directly inside Odoo.
Accessing & Permissions
- All users can access the Email module to view emails.
- Emails appear in Odoo only if they come from:
- Configured Incoming Mail Servers (IMAP)
- Email Aliases
- Sending emails is only available to users whose email address is configured in the Outgoing Mail Server.
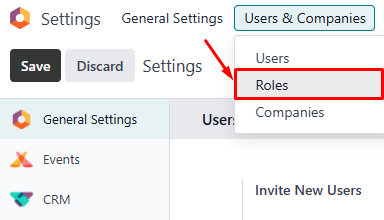
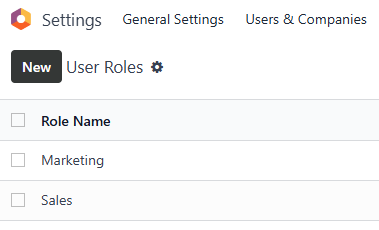
- Only Administrators can configure:
- Outgoing Email servers
- Incoming Email servers
- Email Aliases
- Outgoing Email servers
💡 If you cannot see or send emails, contact your administrator to check your email setup.
Steps (Manual Process)
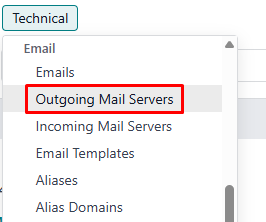
A. Configure Outgoing Emails (SMTP)
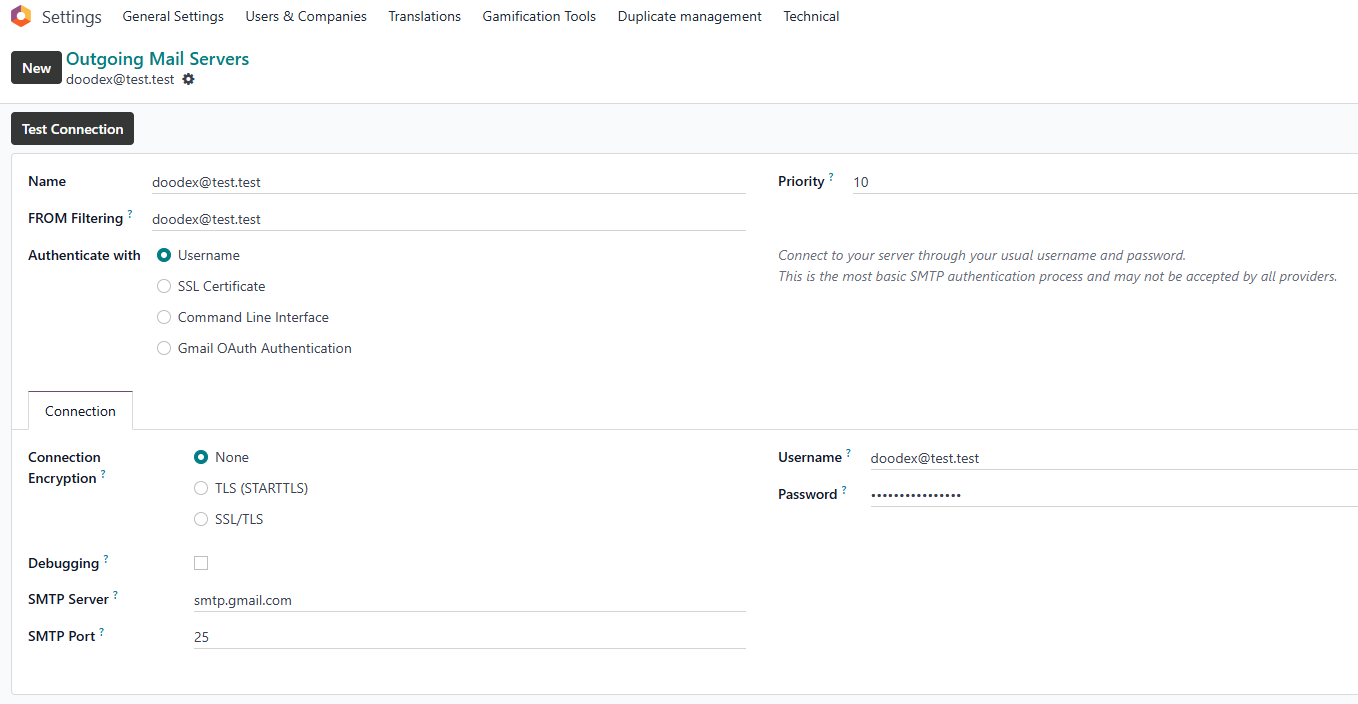
- Go to Settings → Technical → Email → Outgoing Mail Servers.
- Click New.
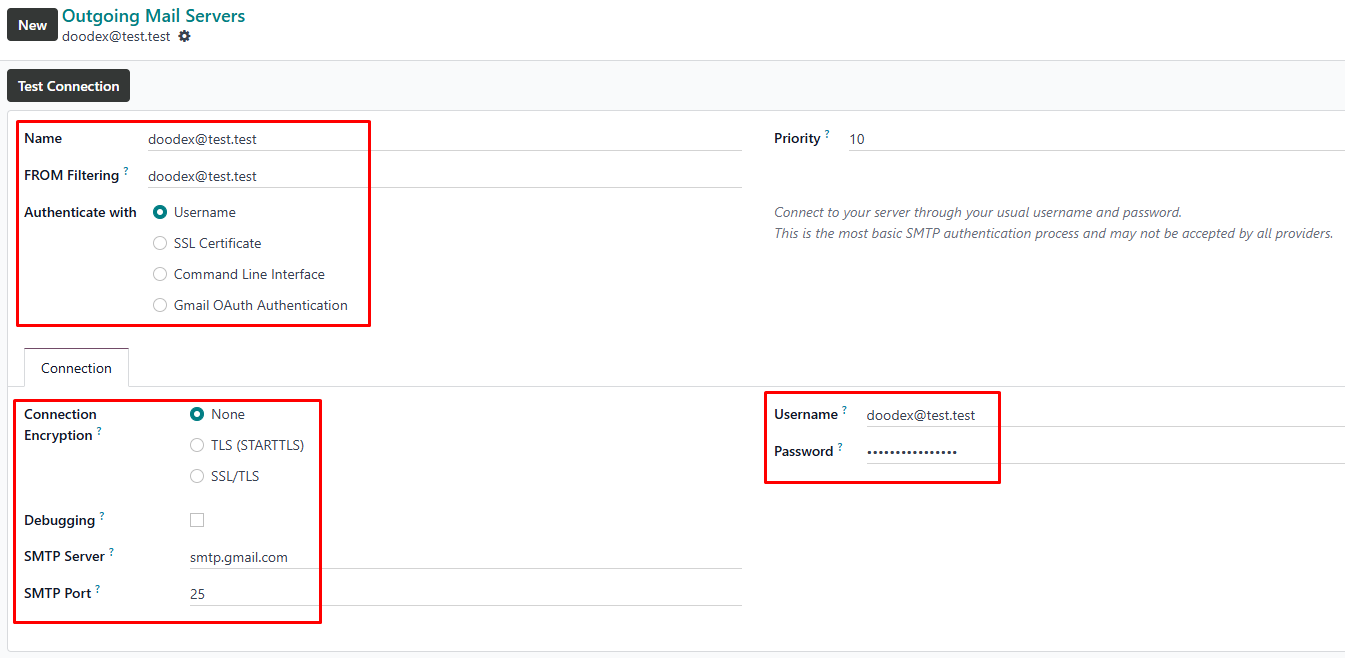
- Fill in the details:
- Description: e.g., doodex@test.test
- SMTP Server: smtp.gmail.com
- Port: 25
- Username: your Gmail address
- Password / App Password: your secure password or Gmail App Password
- Click Test Connection to confirm.
- Click Save.
💡 Now Odoo can send emails using your Gmail account.
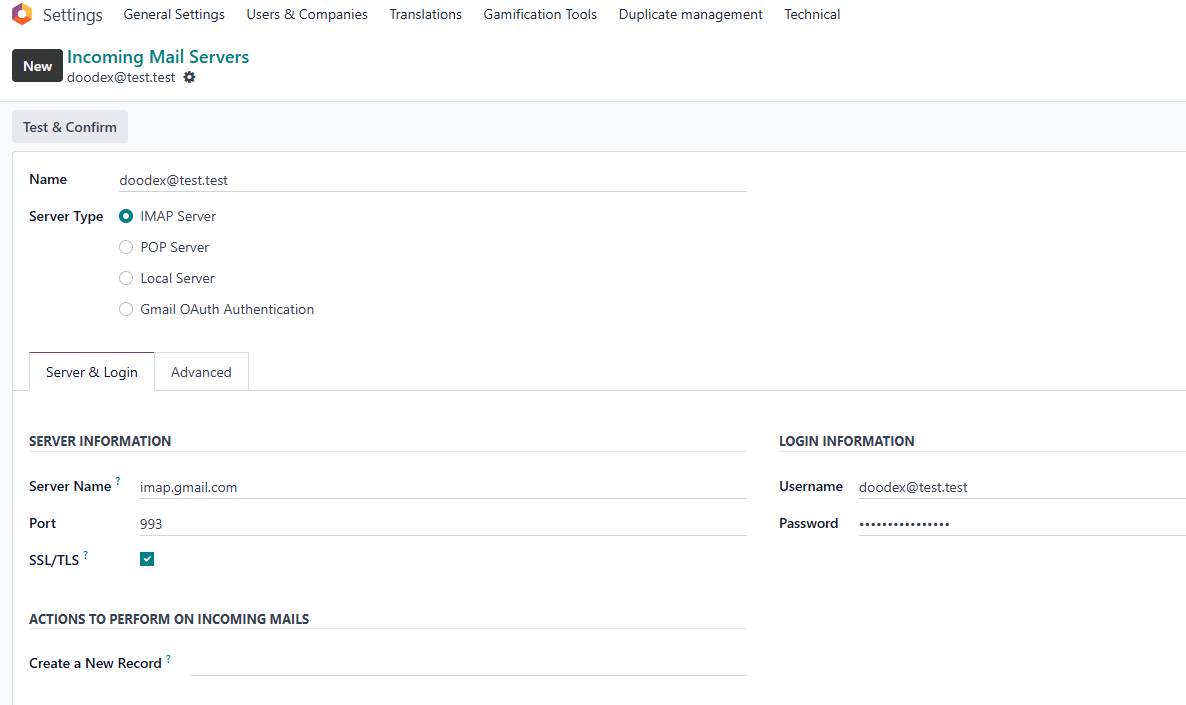
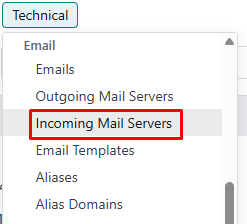
B. Configure Incoming Emails (IMAP)
- Go to Settings → Technical → Email → Incoming Mail Servers.
- Click New.
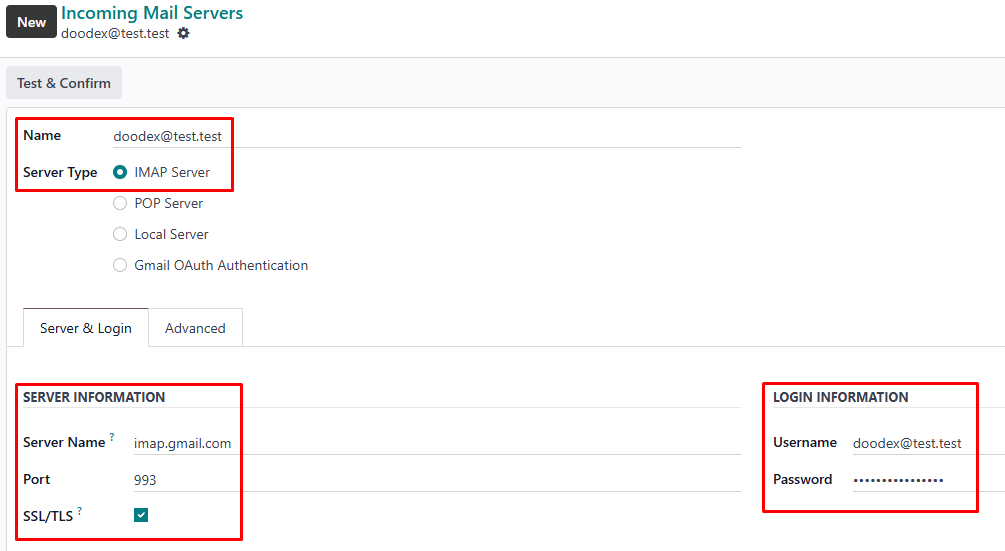
- Fill in:
- Name: e.g., doodex@test.test
- Server Type: IMAP Server
- Server Name: imap.gmail.com
- Port: 993
- SSL/TLS: Checked
- Username: your Gmail address
- Password / App Password: your secure password or Gmail App Password
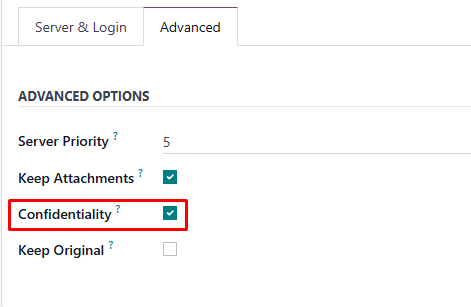
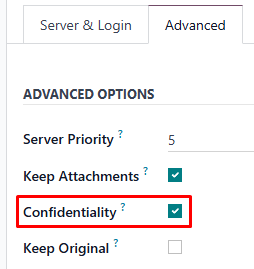
- Click the Advanced tab:
- Confidentially: Check to fetch only emails with a specific Gmail label; leave unchecked to fetch all emails.
- Click Test & Confirm to confirm.
- Click Save.
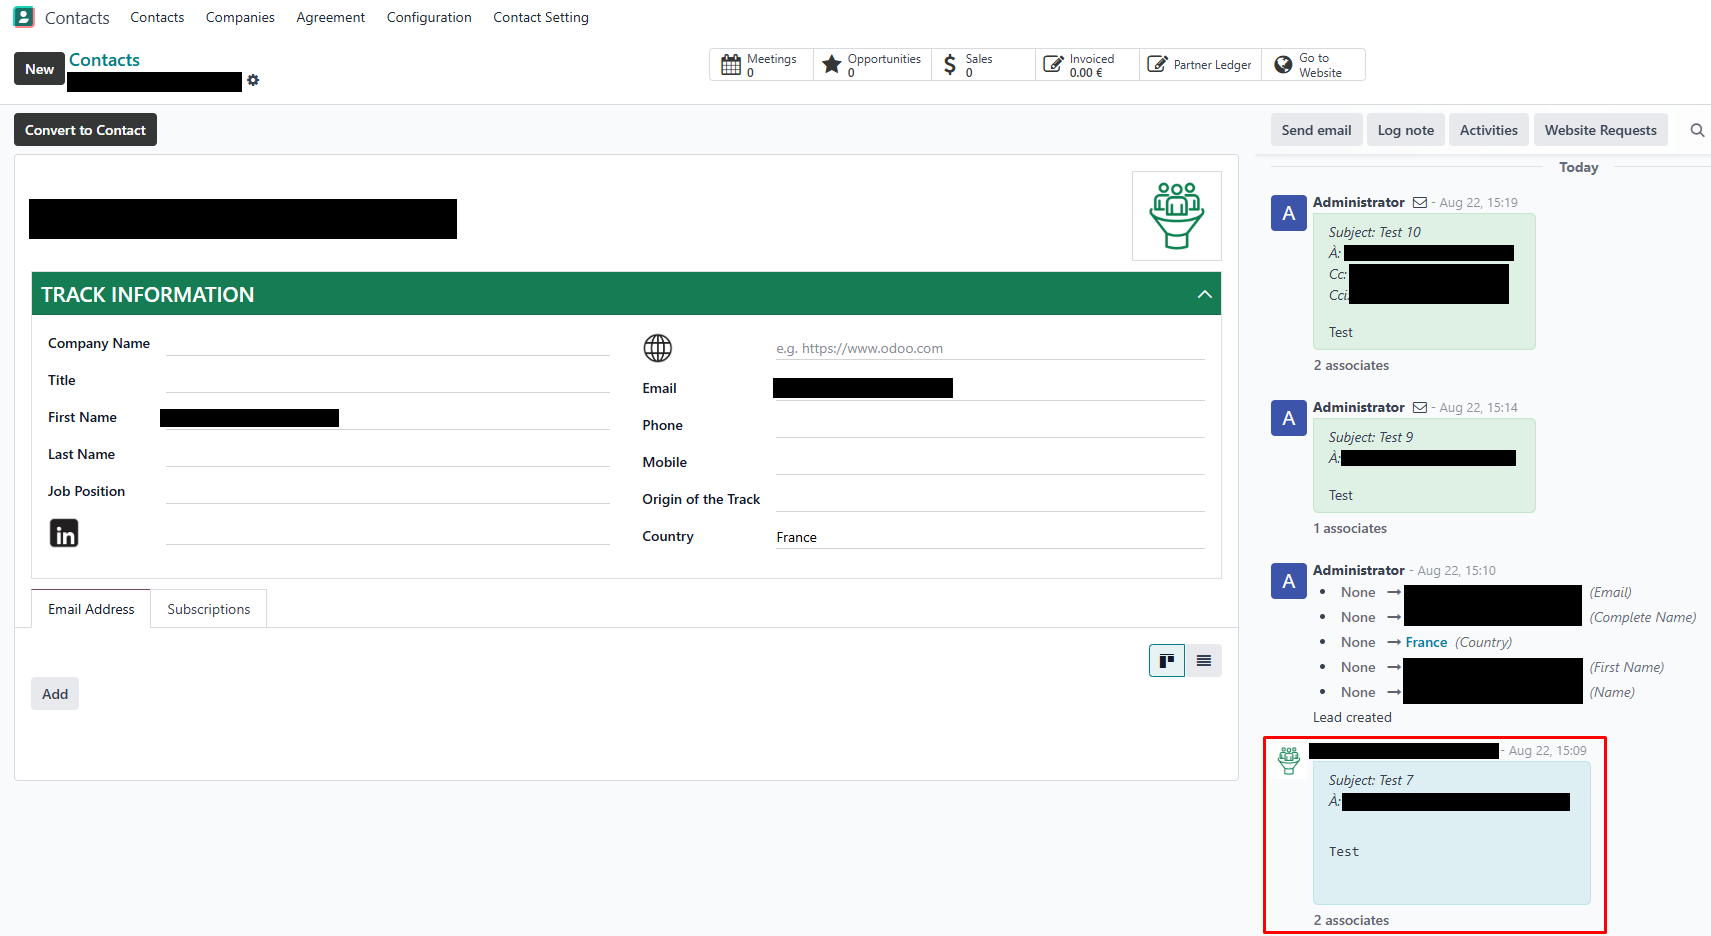
Automatic Lead Creation:
- Emails from addresses not yet in Odoo will automatically create a Lead.
- This happens automatically, no manual step is needed.
💡 Odoo now fetches emails only from configured IMAP accounts and automatically creates leads for unknown senders only if the sender’s email does not already exist in Odoo Contacts.
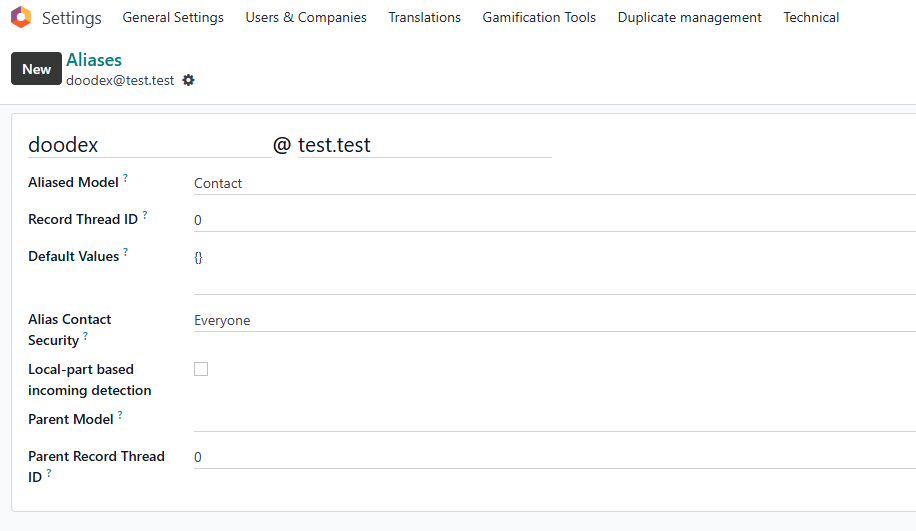
C. Configure Email Aliases
- Go to Settings → Technical → Aliases.
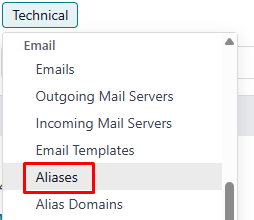
- Click New.
- Fill in the details:
- Alias Name: e.g., doodex
- Alias Domain: e.g., @test.test
- Alias Model: select the target model (e.g., Contact)
- Alias Contact Security: Everyone
- Click Save.
💡 Emails sent to this alias will automatically create a Lead only if the sender’s email does not already exist in Odoo Contacts.
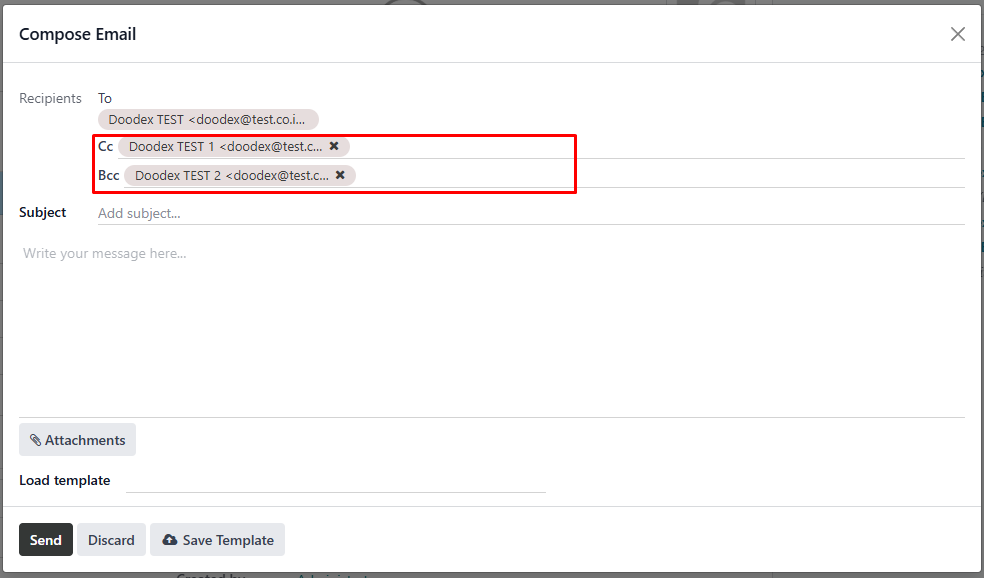
D. Sending Emails with CC and BCC
- Go to any record (e.g., Lead, Contact, Opportunity).
- In the Chatter at the bottom, click Send Email.

- Enter the recipient’s address in To (If you are sending from a Contact or Lead, the To field is automatically filled with that record’s email).

- Click Add CC or Add BCC to include additional recipients.
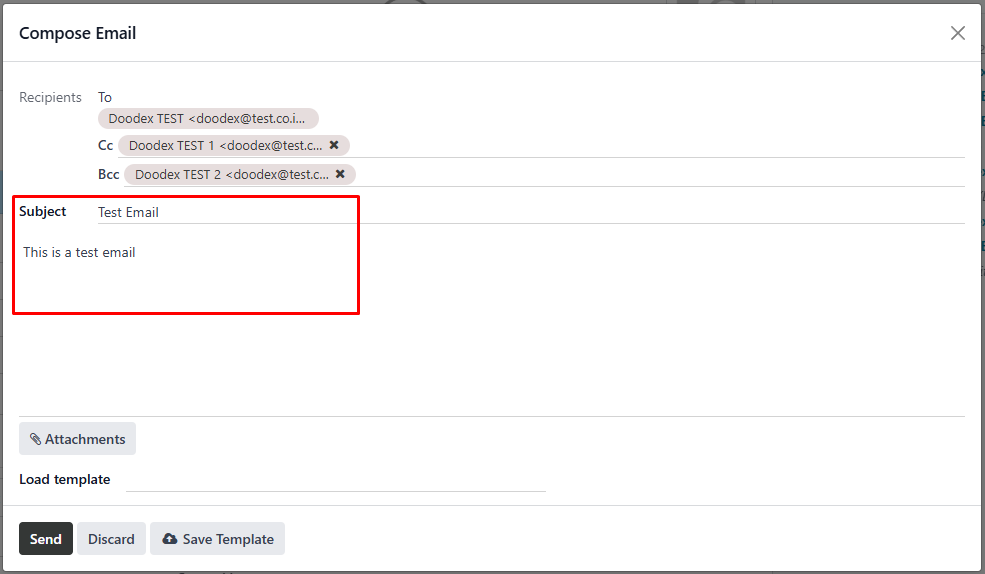
- Write subject + body.
- Attach files if needed.
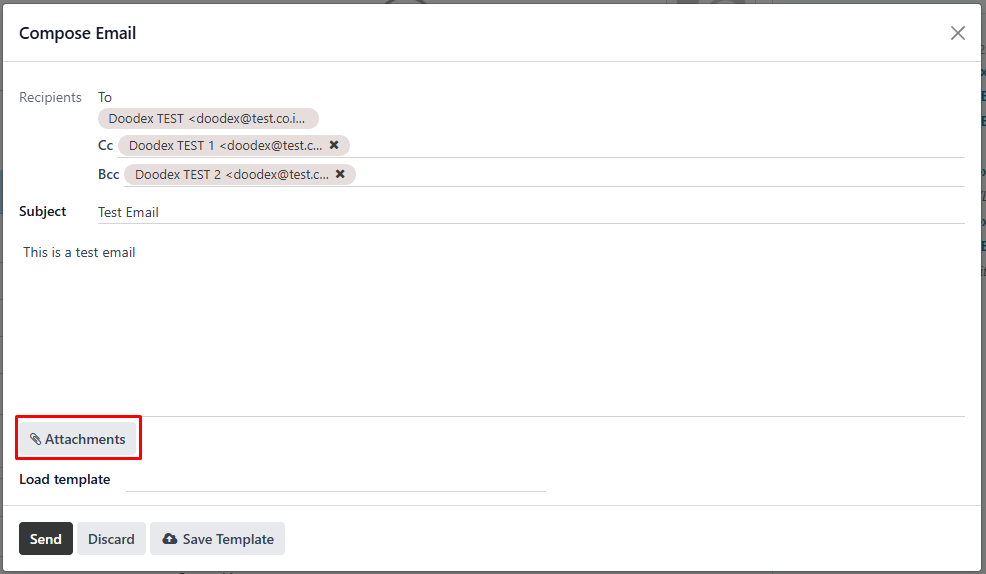
- Click Send.
💡 The email is sent to all recipients, and CC/BCC are recorded in Odoo.
E. Gmail Synchronization
- Ensure Gmail sync is configured (Steps 1–3).
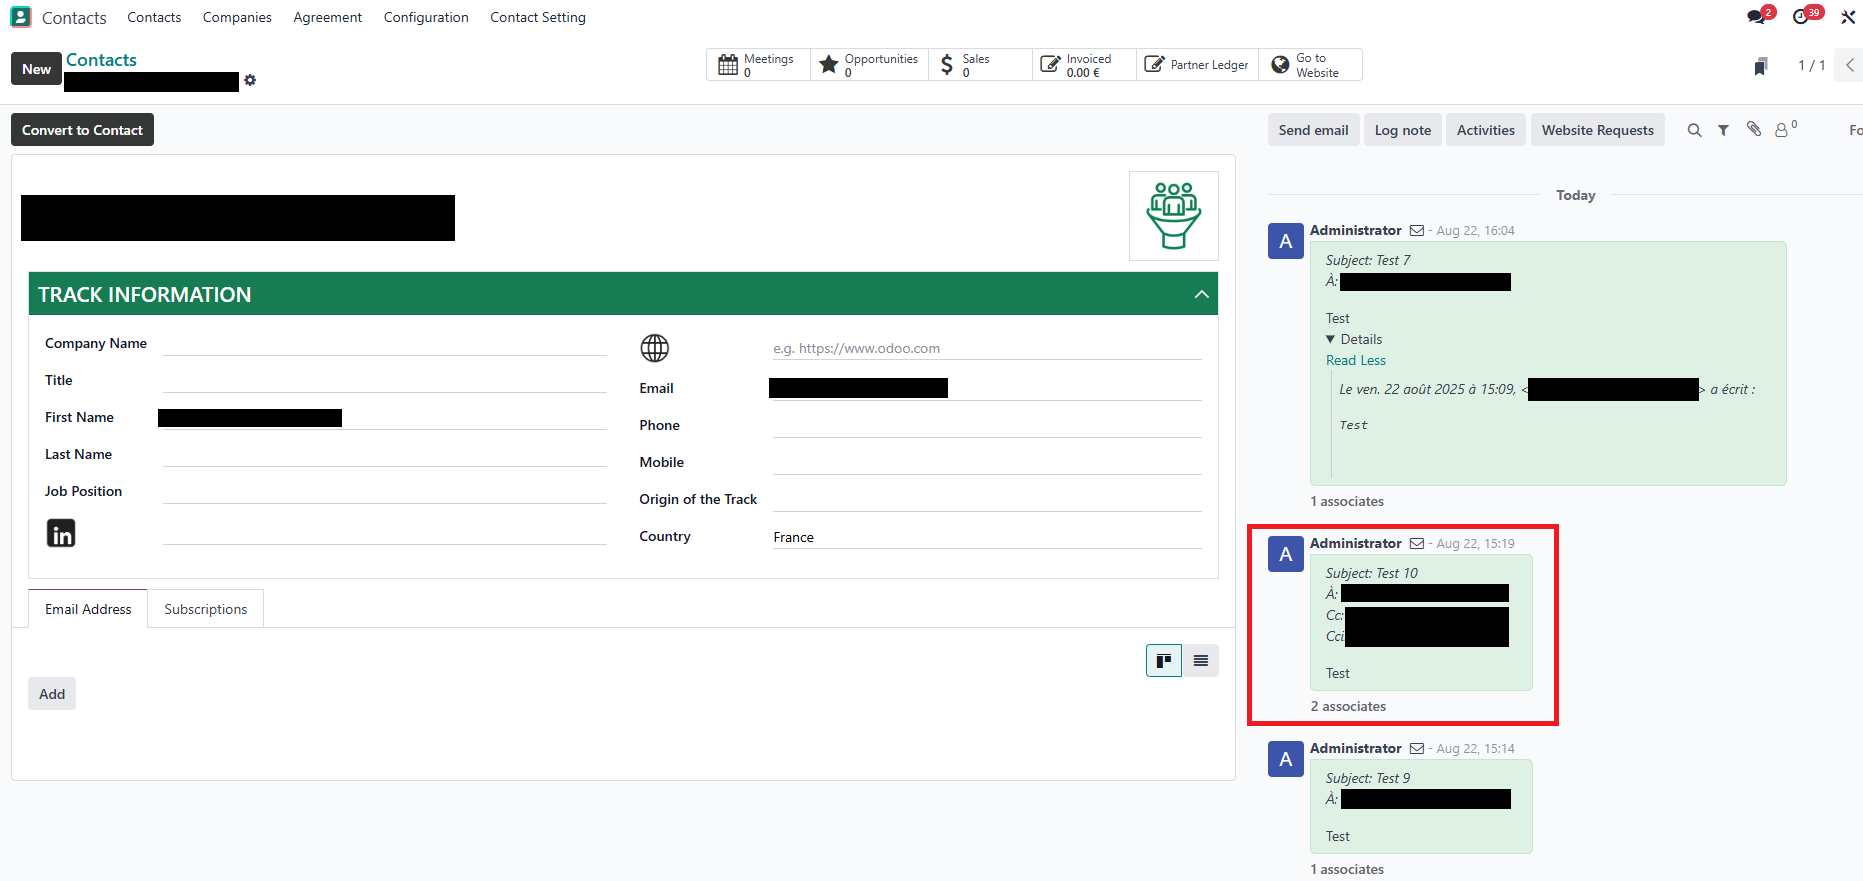
- Incoming emails from customers will automatically appear in Odoo.
- Unknown senders automatically create a Lead only if the sender’s email does not already exist in Odoo Contacts.
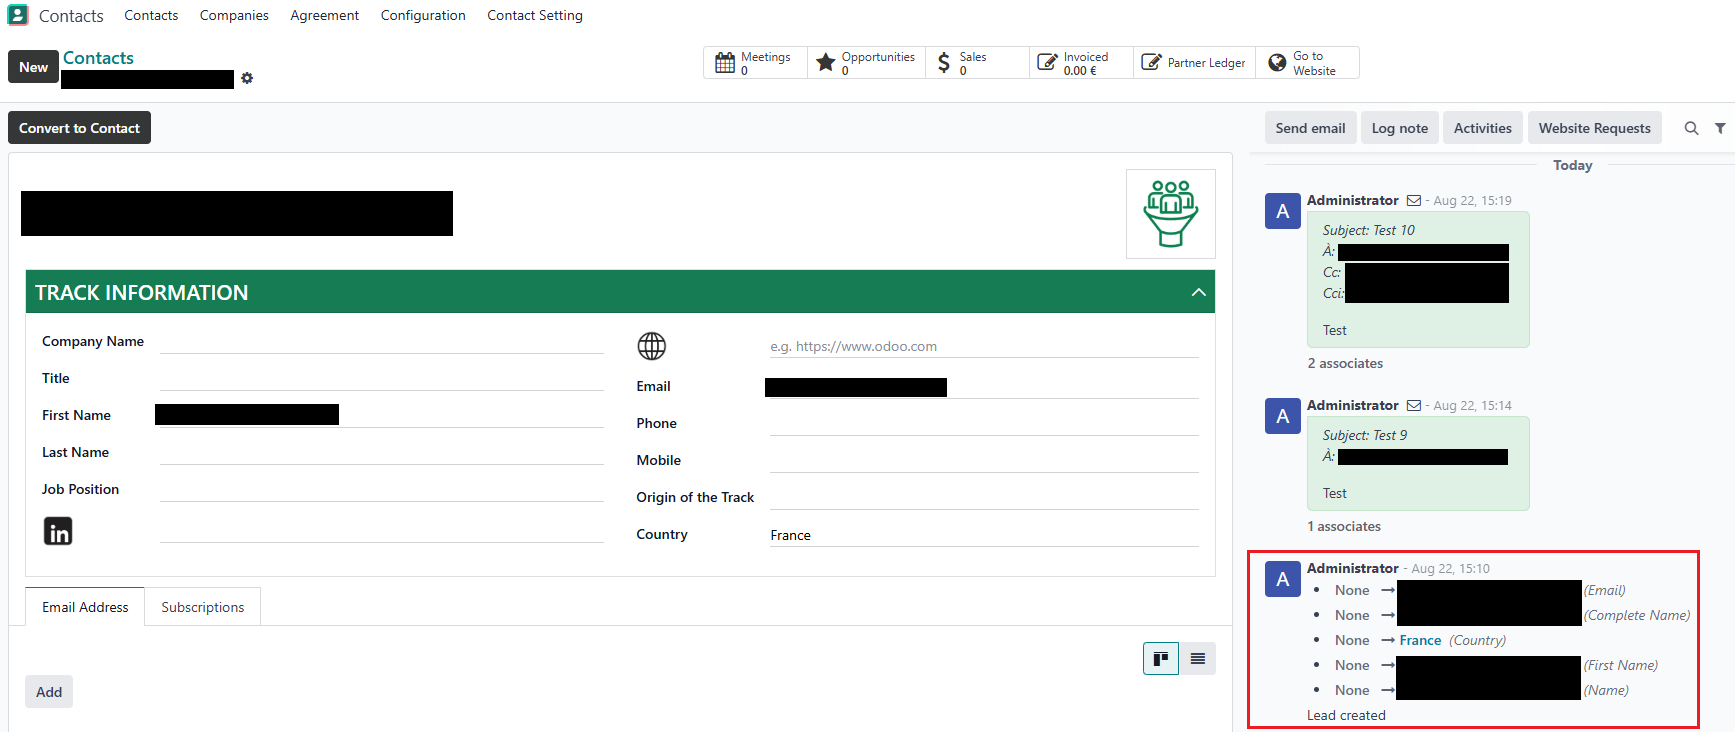
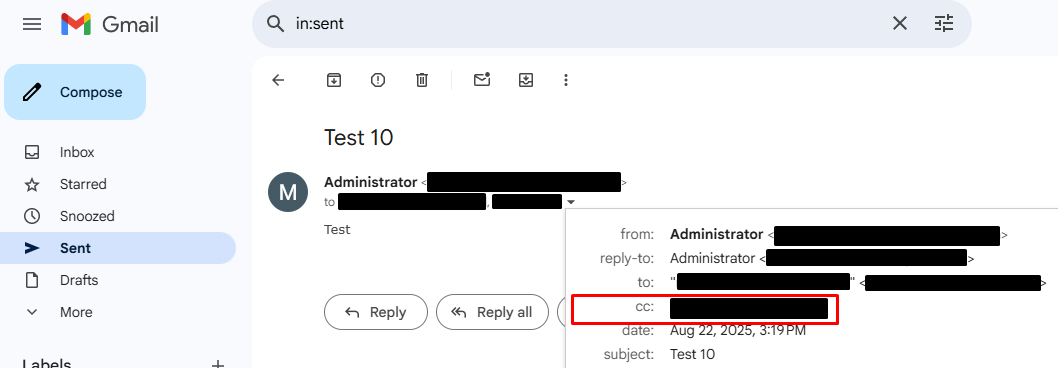
- Replies from Odoo stay in the same Gmail conversation.
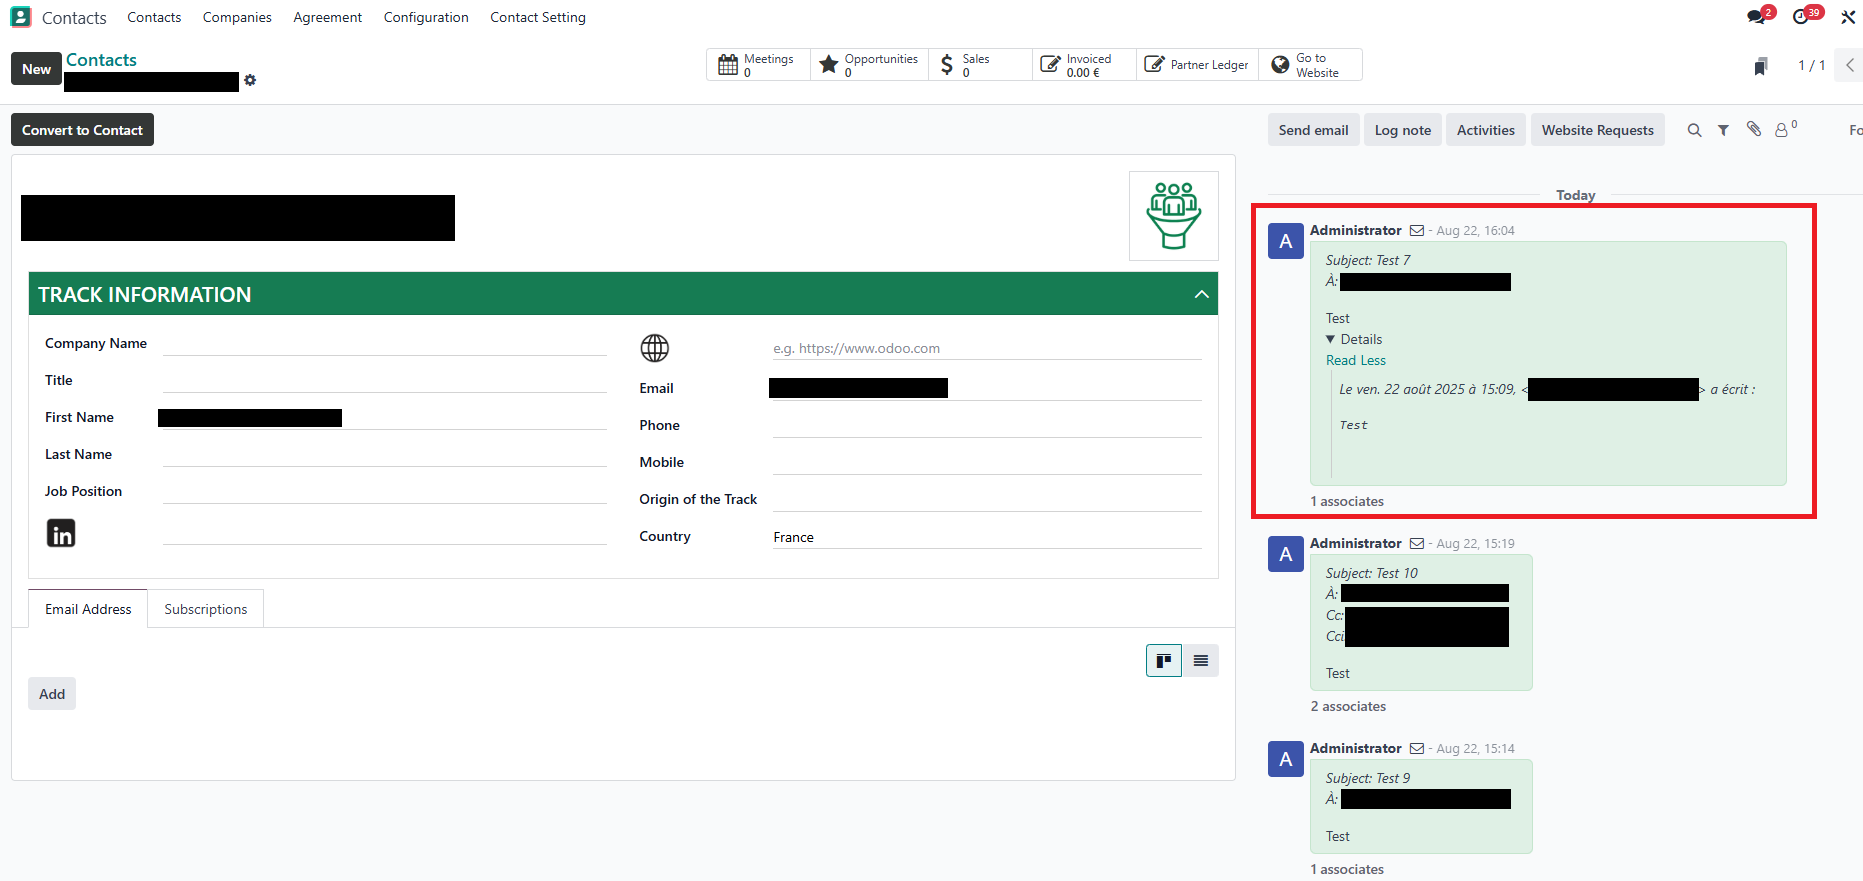
- CC and BCC recipients are also recorded.
If the email has CC or BCC, you can Reply All directly from the Chatter in Odoo, so all participants remain in the same conversation thread.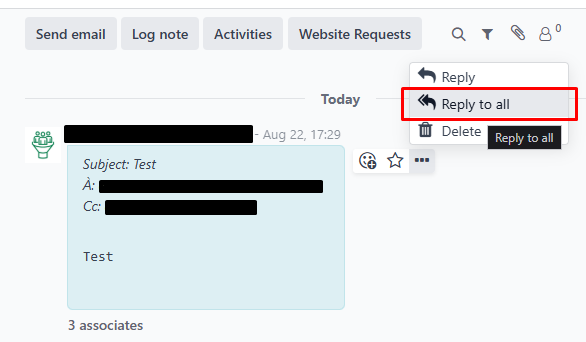
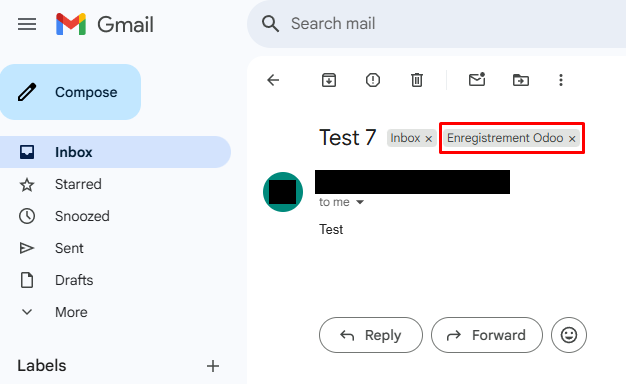
- If Confidentially is enabled, only emails that you manually label in Gmail as “A enregistrer dans Odoo” will be fetched into Odoo.

💡 Emails are only captured in Odoo if they come from Incoming Mail Servers or Email Aliases.
Tips and Best Practices
- Use BCC when emailing multiple leads to protect privacy.
- Keep Gmail labels organized (e.g., “A enregistrer dans Odoo”).
- Regularly review automatically created leads to avoid duplicates.
- Encourage replies from Odoo to maintain conversation threading.
- Test outgoing and incoming emails in a sandbox environment first.
Quick Workflow
- Configure Outgoing and Incoming email servers.
- Configure Email Aliases if needed.
- Compose email → add To / CC / BCC → send.
- Customer replies → automatically logged in Odoo.
- Unknown senders → automatically create Lead only if the sender’s email does not already exist in Odoo Contacts.
- Replies stay in Gmail conversation thread.
- Gmail message gets labeled → “A enregistrer dans Odoo”
Frequently Asked Questions
Q: Can I send emails with hidden recipients?
A: Yes, use the BCC field.
Q: Do I need to send the first email from Odoo for conversations to sync?
A: No. With this module, Odoo captures the first email from the customer automatically.
Q: Does every new sender become a Lead?
A: Yes, if the contact does not exist in Odoo, it will be created as a Lead.
Q: Will CC and BCC from Gmail appear in Odoo?
A: Yes, all recipients in CC/BCC are synced automatically.
Q: Can all users send emails?
A: No, only users whose email is configured in the Outgoing Mail Server can send emails.